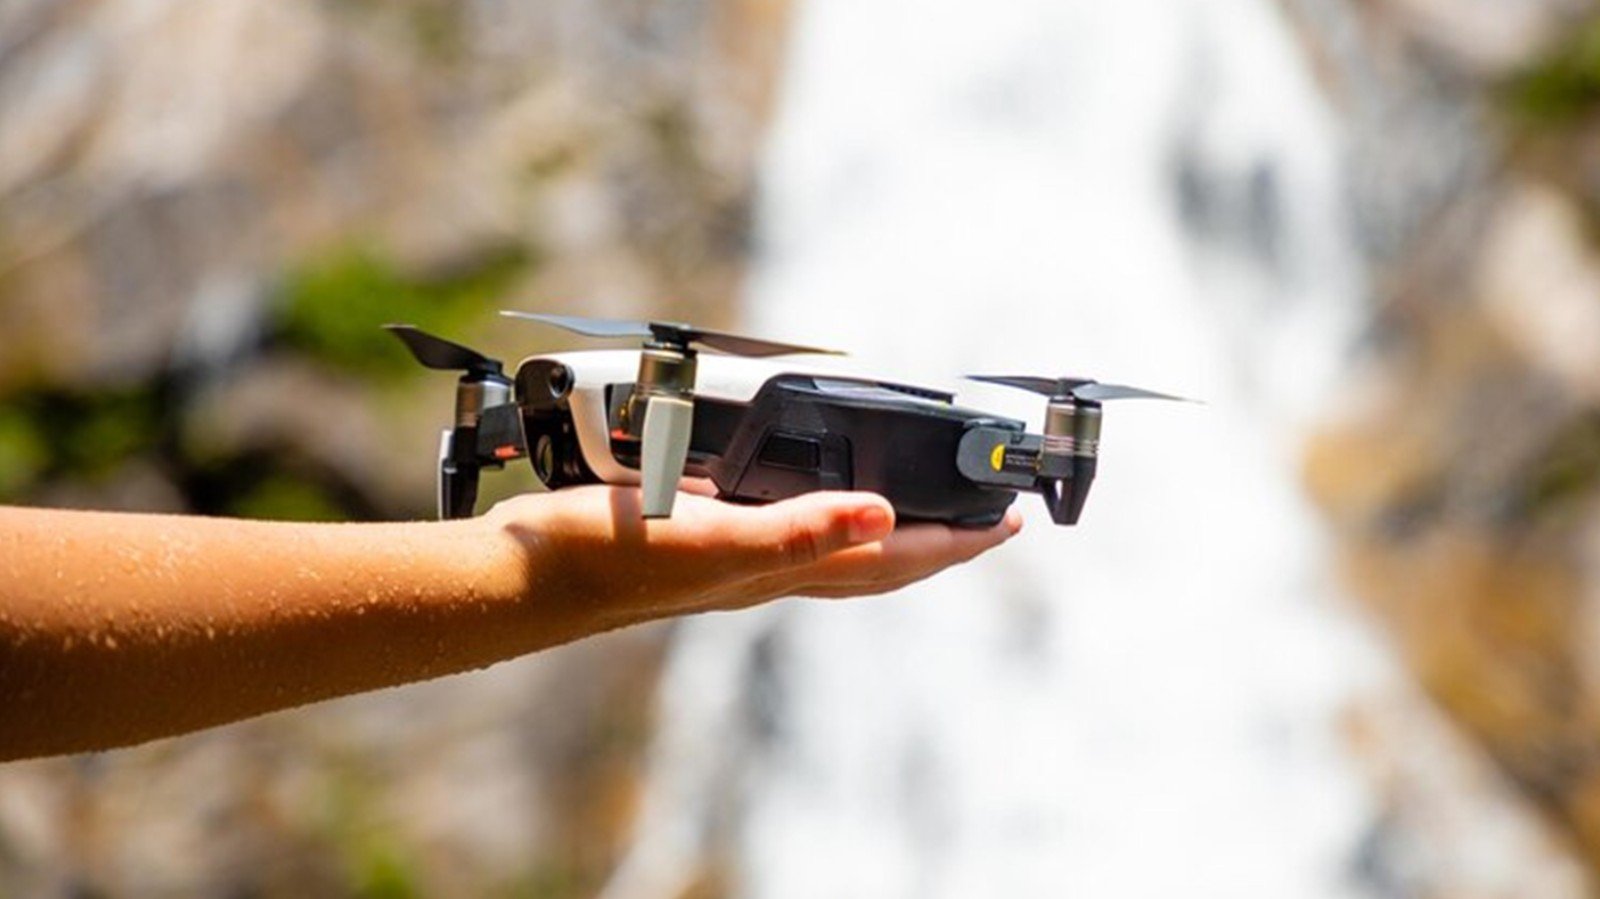
Drone photography has transformed the way we capture images, offering a unique perspective that was once only achievable through helicopters or planes. As a beginner, navigating this new territory can be both exciting and overwhelming. This guide aims to equip you with the essential knowledge and skills to elevate your shots with drone photography.
Choosing the Right Drone
Understanding Your Needs
Before purchasing a drone, consider what you want to achieve with your aerial photography. Are you interested in capturing stunning landscapes, real estate, or events? Your purpose will influence the type of drone you should invest in.
Key Features to Look For
- Camera Quality: Look for drones with high-resolution cameras, typically at least 12 megapixels, and the ability to shoot 4K video.
- Stability and GPS: Ensure your drone has good stabilization features and GPS for steady shots and easy navigation.
- Battery Life: Longer battery life means more time to capture the perfect shot. Aim for drones with at least 20-30 minutes of flight time.
- Range: Consider how far and high the drone can fly, which is crucial for capturing expansive landscapes.
Mastering the Basics
Pre-Flight Checklist
- Weather Conditions: Always check the weather before flying. Avoid windy, rainy, or foggy conditions.
- Battery Check: Ensure your drone and controller are fully charged.
- Firmware Updates: Regularly update your drone’s firmware to avoid any technical issues during flight.
- Calibrate Compass and GPS: This ensures your drone can navigate accurately and return home safely.
Understanding Controls
Learn how to operate your drone’s basic controls.
- Throttle: Controls the altitude.
- Yaw: Rotates the drone left or right.
- Pitch: Tilts the drone forward or backward.
- Roll: Tilts the drone side to side.
Capturing Stunning Shots
Composition Techniques
- Rule of Thirds: Divide your frame into a 3×3 grid and position your subject along these lines for a balanced composition.
- Leading Lines: Use natural lines like roads, rivers, or trails to guide the viewer’s eye through the image.
- Symmetry and Patterns: Aerial views often reveal symmetry and patterns that are not visible from the ground.
Lighting
- Golden Hour: Shoot during sunrise or sunset for soft, warm light that enhances the beauty of your shots.
- Avoid Midday Sun: Harsh shadows and overexposure are common during midday. Rather, choose late afternoon or early morning.
Experiment with Angles and Perspectives
Drones allow you to capture angles that are impossible from the ground. Experiment with:
- Top-Down Shots: Directly above the subject for a unique perspective.
- Low Altitude: Just above the ground for an intimate view.
- High Altitude: To capture vast landscapes.
Safety and Legal Considerations
Follow Local Regulations
Every nation has its own laws governing the use of drones. Familiarize yourself with these rules to avoid fines or legal issues. Common regulations include:
- No-Fly Zones: Airports, government buildings, and certain public areas may be restricted.
- Altitude Limits: Most regions have a maximum altitude limit, typically around 400 feet.
- Registration: Some countries require drone registration with aviation authorities.
Safety Tips
- Maintain Line of Sight: Always keep your drone within your visual range.
- Avoid Crowds: To prevent accidents, avoid flying over people or busy areas.
- Return Home Function: Use the return-to-home function in case you lose sight or control of your drone.
Post-Processing
Editing Your Photos
Post-processing is crucial to make your drone photos stand out. Use software like Adobe Lightroom or Photoshop to:
- Enhance Colors: Adjust the saturation, contrast, and brightness.
- Crop and Straighten: Improve the composition and alignment.
- Remove Distortions: Fix any lens distortions or perspective issues.
Creating Videos
For video footage, consider using Adobe Premiere Pro or Final Cut Pro to:
- Stabilize Footage: Smooth out any shaky clips.
- Add Music and Transitions: Enhance the storytelling aspect of your videos.
- Color Grading: Apply color correction to achieve a cinematic look.
Conclusion
Drone photography opens up a world of creative possibilities. By choosing the right drone, mastering basic controls, understanding composition techniques, and adhering to safety regulations, you can elevate your shots and create stunning aerial images. Remember, practice and patience are key to improving your skills and capturing breathtaking photos.
By following this guide, you’ll be well on your way to mastering drone photography and capturing awe-inspiring shots from the sky.


